Ultimate WordPress Guide for Newbies
For those of you looking to get into website design, I can tell you from personal experience that it’s an incredibly daunting task. All web designers, at one point or another, were in your shoes. There’s all kinds of courses, videos, etc. to help you learn, but it’s mostly promotional content with ulterior motives to sell their products. I’ll cut the BS & tell you what you need to know.
I decided to teach myself the hard way; I’m writing this blog post so you don’t have to.
For starters, Wix and SquareSpace SUCK OUT LOUD. If you want a real website, those all-in-one website builders just won’t cut it. Ultimately, you’ll begin noticing the constraints, you’ll get forced into buying new add-on packages — the costs start adding up and next thing you know, you’re back at square 1. To save you some time & money, I’ll streamline the process & get you started the right way.
First off, you’ll need a domain name (URL), a hosting provider, and a Content Management System (CMS).
1. Find the Right Domain Name
A successful website starts with a memorable, easily accessible domain name. Not too long, not too complicated — keep it simple. Feel free to get creative & don’t feel pressured to pay extra for a “.com” address. Remember, creativity leads to memorability.
Let’s say you run a design agency — check for alternative extensions like .agency or .design. If you’re promoting specific services, look for domain extensions like .solutions, .plumbing, .farm, or even something as specific as .florist. Sure, these are a bit outta left field, but they’re memorable (not to mention cheaper.) Here’s a list of other domain extensions.
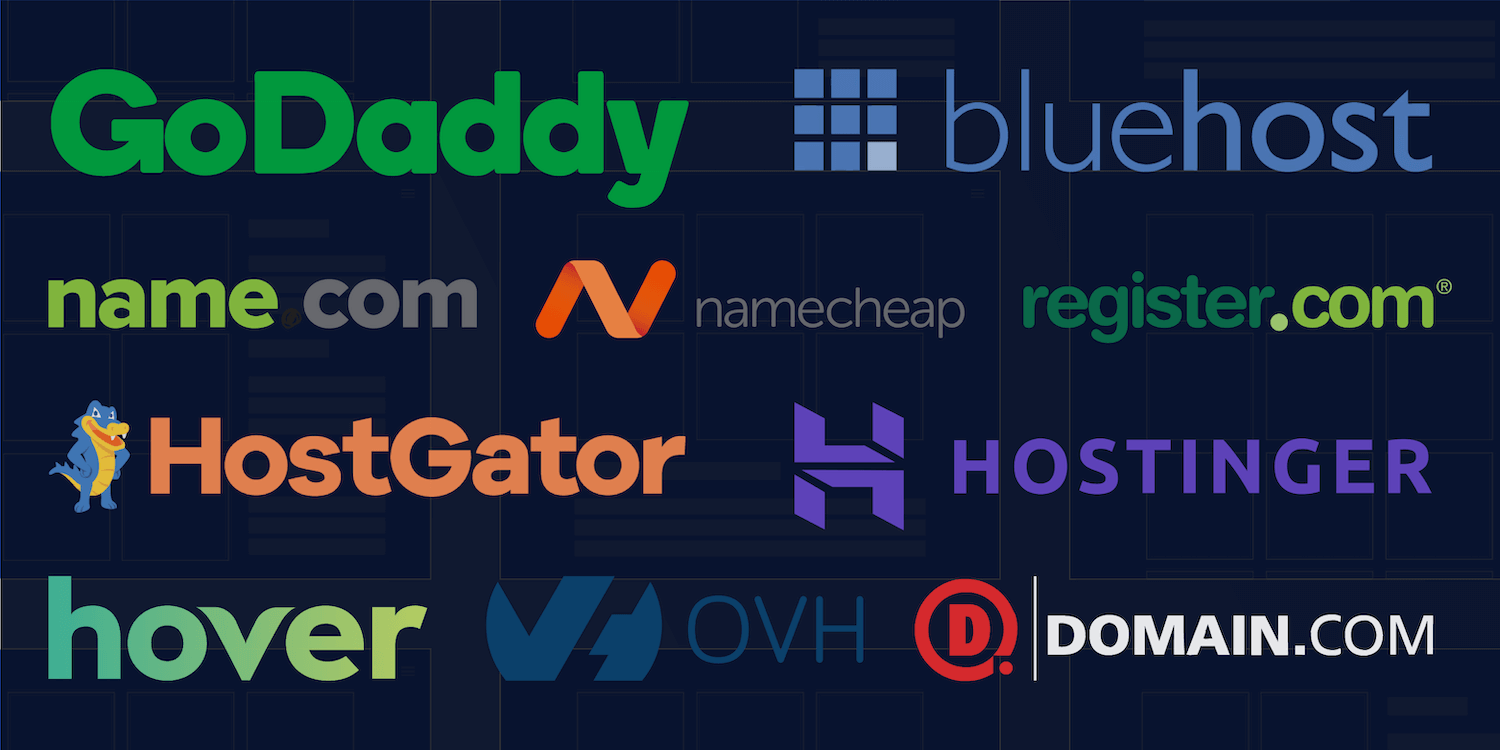
Registering for a domain name is simple & you’ll have plenty of options for price-shopping. I’ve always preferred GoDaddy, but you have other options like NameCheap, HostGator, Domain, Bluehost, etc. Make sure you do your research to find a name that’ll stand out on Google to increase your visibility. You can always change the name later, but it never hurts to take your time & get it right the first time.
2. Find the Right Hosting Provider
Personally, this was the biggest decision I had to make. Like domain registrars, you have plenty of options to pick the right hosting. First of all, you’ll want to understand what hosting actually is.
To keep things simple, hosting is essentially where your content is stored to be later shown to website visitors. They provide the services and, namely, the servers that store your website files & content like images, videos, blog posts, etc.
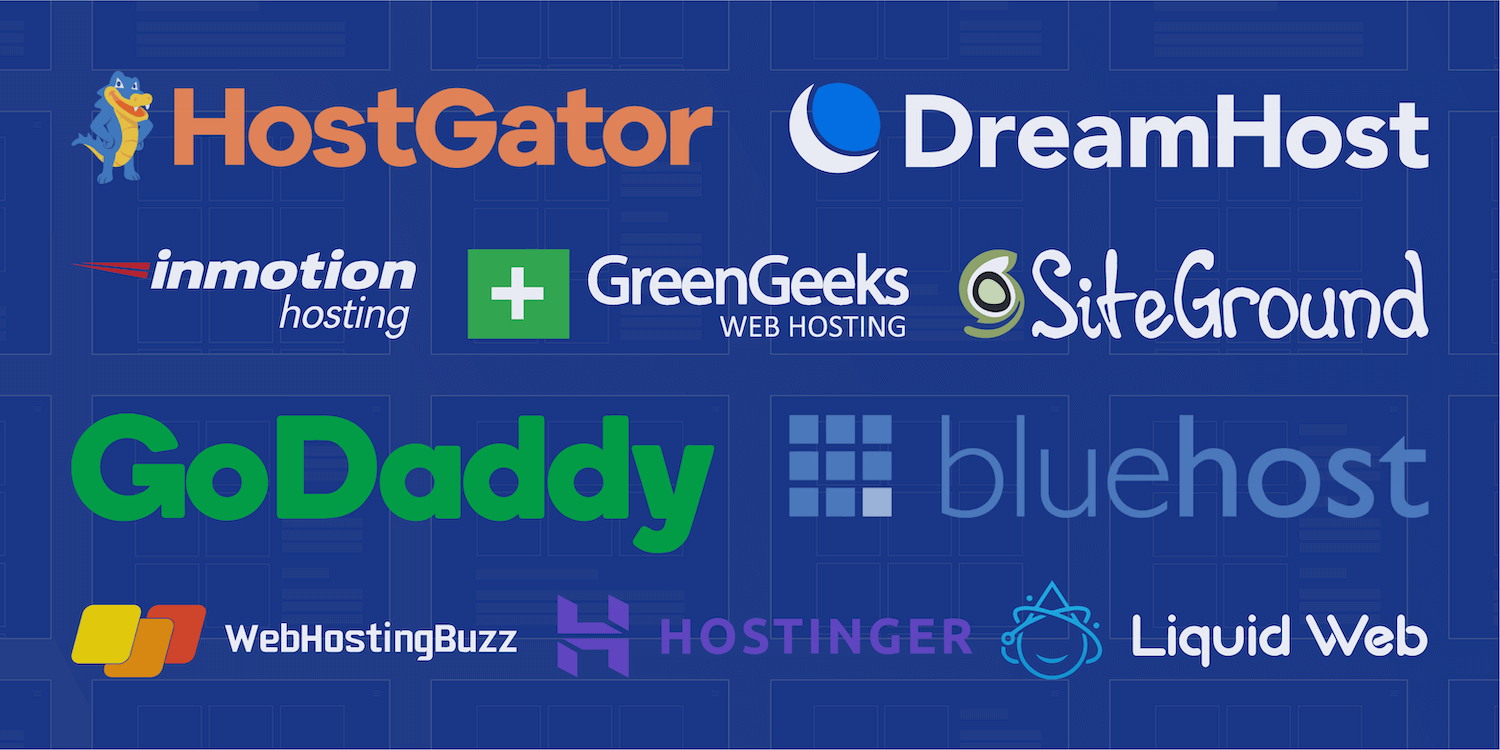
With website load speed becoming increasingly more important for user retention, you’ll want a server sufficient enough to load your content quickly and consistently. After tons (& tons) of research, I settled on Bluehost for its price-point, customer service & flexibility. You’ll have a number of plans to choose from, so it helps to do your research & make your decision based on the type (and amount) of content you’ll be displaying.
With all hosting plans, you generally pay on a monthly or yearly basis. 9 times out of 9, the hosting provider with be running a promotion with heavy discounts for first-time users. Pro tip: you’ll want to put your budget aside & purchase the plan for the next 2–3 years, knowing that the pricing will go up substantially at the expiration of your original plan.
According to TechRadar, the top 5 hosting providers in 2019 are InMotion, Bluehost, HostGator, Hostinger and GoDaddy. Most of the time, your decision will lean heavily on your budget; make sure to do your research & look at customer reviews to make sure you aren’t throwing your money away on a s**t product. If you’re going to spend some dough, hosting is the place to spend it.

3. Find the Right Content Management System
Alright, so let’s assume you have your domain is all set-up, and parked into your hosting. Most of your decisions have already been made. Go ahead & take a sigh of relief; your next decision is going to be easy. We’ll need to get you started with a proper Content Management System.
A Content Managements System (CMS) is an application that helps create, organize, manage and ultimately publish content to your website.
For a Content Management System, you have options like Wix, Drupal, Magento, Joomla, etc. etc. Forget all of those. The CMS you’ll want to use is WordPress, the gold standard of web design.
Whether you’re an experienced web designer or a rookie looking to get into the digital realm, WordPress has proven time & again to be a reliable choice when it comes to building a website. Its flexibility provides limitless potential for customization & system integrations. Moreover, the platform itself has stood the test of time, allowing for developers to provide end-users with the tools they need to build the perfect website.
On the flipside, the vast number of tools often lead to frustration and ‘options-overload.’ To help ease your mind & save you some time, I wanted to throw in my 10¢ to help streamline your WordPress workflow.
Quick Tip: There seems to be confusion out there about the difference between WordPress.com vs. WordPress.org. Basically WordPress.com doesn’t require hosting and is similar to Wix or SquareSpace in relation to its lack of flexibility. WordPress.org is the platform we’ll be using due to its breadth of customizability. You can download the program here.
When using WordPress, you’ll need to start with a ‘theme’ for laying out the basic framework of the website. After that, we’ll be using ‘plug-ins’ to expand its capabilities for maximum customization.

4. Finding the Right Theme
Right off the bat, WordPress will offer free default themes to get started. Ignore those. You’ll want to navigate over to ThemeForest and check out some of the top rated themes & their reviews here.
The theme you use will depend entirely on the products, services, or information on your website. Some are specialized for eCommerce, some for restaurants, others for artistic or photography portfolios. Like I said, your best theme option depends on the information your website will convey.
Each theme will you its own so-called ‘builder’ for organizing you content. In the past, I’ve used WPBakery (formerly Visual Composer), Beaver Builder, Themify, Divi and Elementor. I would recommend any of those if you’re new to WordPress, due to their user-friendliness and level of flexibility.
These builders are essentially drag-and-drop tools that help with not only the content placement, but also the formatting, interface, and general website styling. Oftentimes, they’ll provide general layouts & templates that’ll make your website look clean-cut & professional. As you get comfortable with the tools, you can really get creative with the elements to spice up the website & make it stand out above the crowd.
If you’re feeling overwhelmed and want a ‘one-size-fits-all’ theme, I would 100% recommend using the Uncode theme. It’s marketed as a portfolio theme; however, I use it for all types of clients due to its modern look & feel. I’d highly recommend it to anyone getting started with WordPress, as there’s plenty of documentation and consistent updates to stay ahead of the game. Check out the gallery here.
Basically, once you have a domain, hosting, and a CMS, you’re ready to start building and go live!
As you build out your website, no matter the theme, you will need additional features and customization tools to really make your website shine; this is where plug-ins come in.
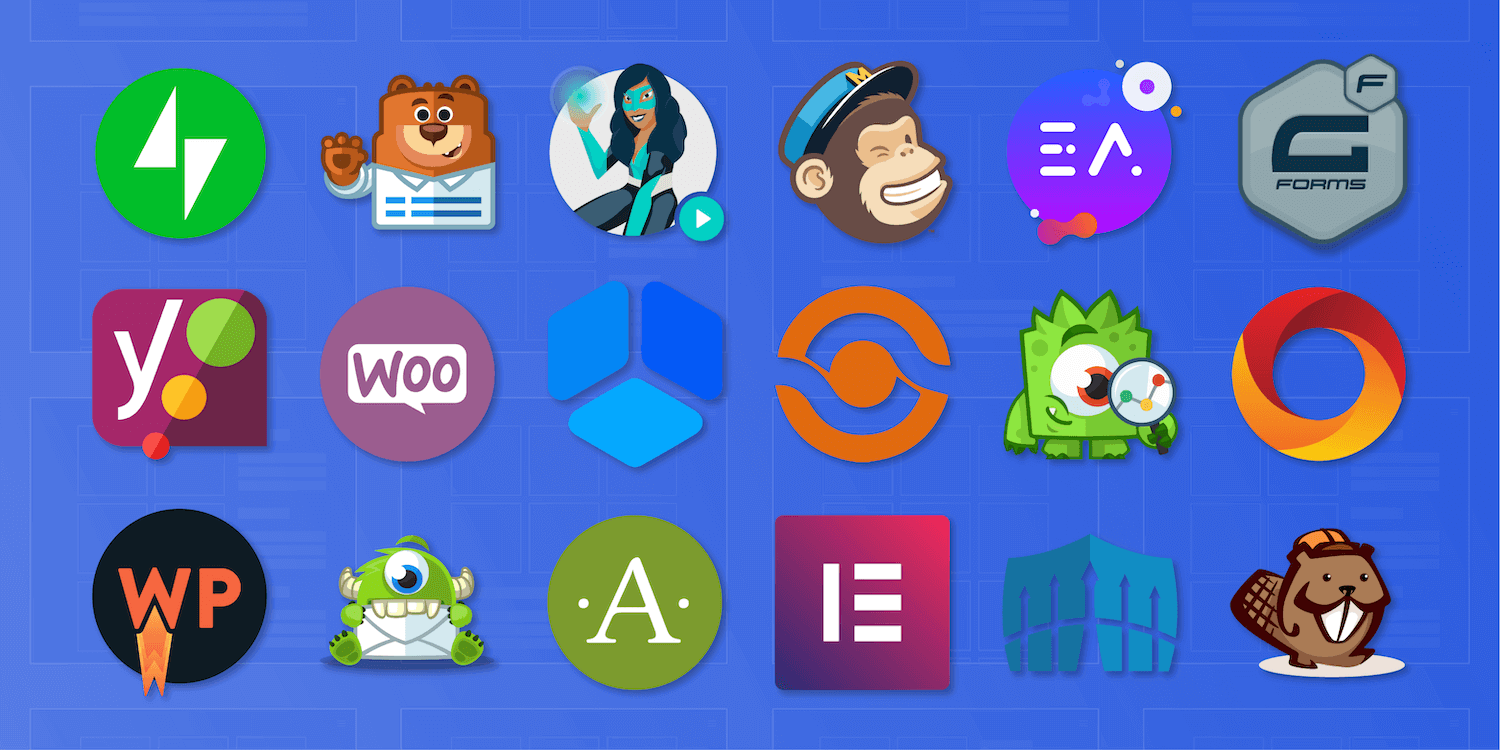
5. Use the Right Plug-ins
Plug-ins come in all shapes & sizes with insane variations of features & benefits. So, what exactly is a plug-in?
A plug-in is a downloadable piece of software with groups of functions used to extend customizability and specific features to your WordPress website.
Whether you’d like to add contact forms, advanced analytics, additional security, eCommerce services, automated image compression, caching features, live chat widgets, the list goes on & on & on again. Plug-ins can either be downloaded directly through WordPress or purchased & uploaded through 3rd party marketplaces like CodeCanyon.
Concerning must-have, free plug-ins, I’d 100% recommend the following:
- WPForms: Used to create & customize contact forms
- WooCommerce: Used to build your own custom eCommerce store
- Yoast SEO: Helps boost online visibility for search engines like Google
- Smush: Automated image compression tool to speed up load times
6. Have Fun with it!
Building websites from scratch is certainly not for the faint of heart. With the exponential advances in technology however, building a website is now easier than ever. Using the information above, you can build your own website with absolutely no coding experience whatsoever. As you get better & better, it doesn’t hurt to learn a bit of CSS, but that’s totally optional. Don’t quit your day job, just practice a bit here and there & you’ll be a WordPress pro in no time.
Once you’re comfortable with the tools available at your disposal, start playing around, trying new things, and most importantly don’t be afraid to fail. Some of my favorite elements on previous projects started off as a total mistake, then ended up a bit abstract and eventually eye-popping, sleek & pleasantly out-of-the-ordinary. Keep playing around and let me know how it goes!
Thomas Decker
Part-time digital marketing specialist and web designer for small businesses across the US. Experience with graphic design, coding & general web fun :)
